I had a minor issue with the centre rear seat of my MINI a few weeks ago. I pulled the catch so that I could drop down the middle section, and heard a pinging noise from behind the handle. Although the catch still worked fine, it seemed a bit looser than it used to be, and also there was a rattle coming from inside.
For very minor things like this I’m always too embarrassed to take it back to the dealer so I decided to try to fix it myself.
Removing the surround from the handle was surprisingly difficult because it was almost impossible to work out where to pry it to release it from its catches. As you can see from the photo, I managed to wreck two of the catches. I think the technique is probably to insert a fairly sturdy plastic tool in horizontally under the sides of the surround, then move it vertical and slide it down the side of the clip, then move it to the side to compress the side inwards.
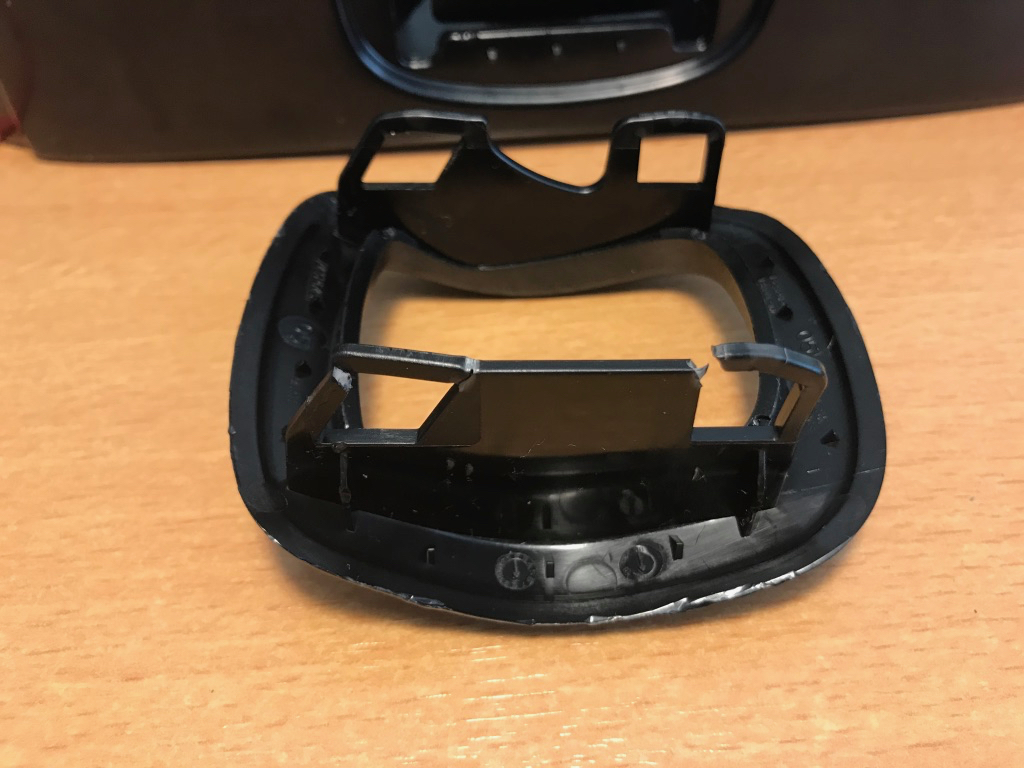
I bent the broken parts back and glued them with superglue. I figured if it doesn’t work I can always get a replacement part from the dealer.
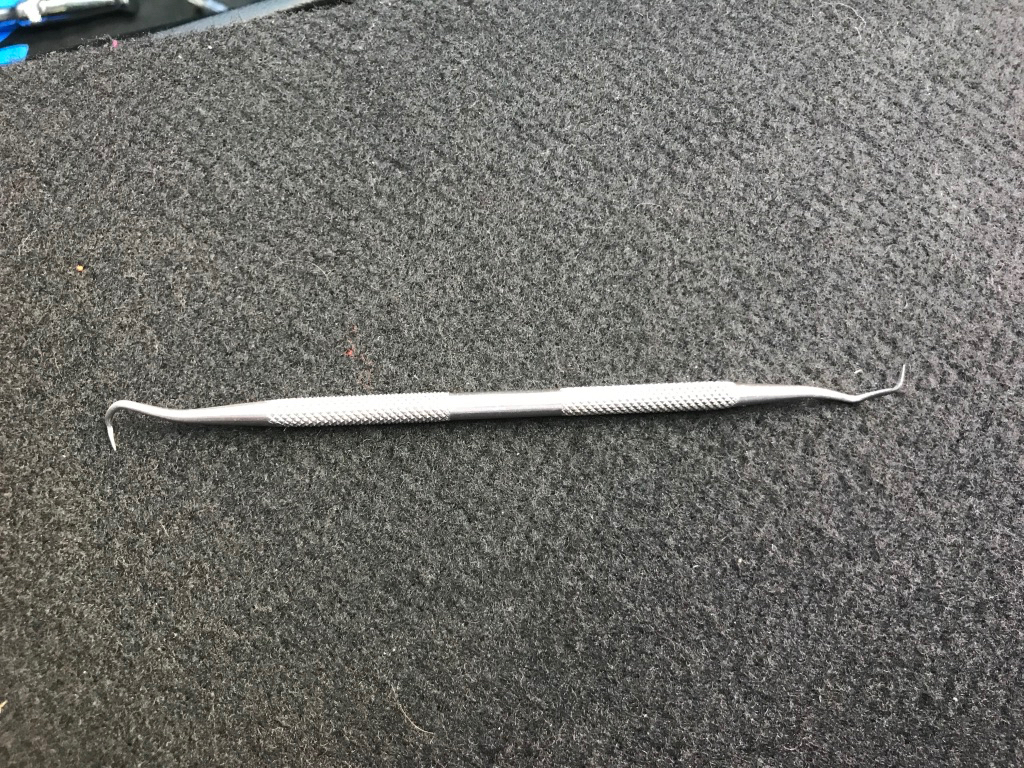
The next step is to remove the headrest, and then remove the tubes that the headrest slides into. This is another difficult job! The tubes are secured into the seat by two small clips about two thirds of the way down inside the tubes. They are oriented to the left/right of the car. I was able to use a dental pick to pull them into the tube, but I then had to use quite a lot of force to pull them out.
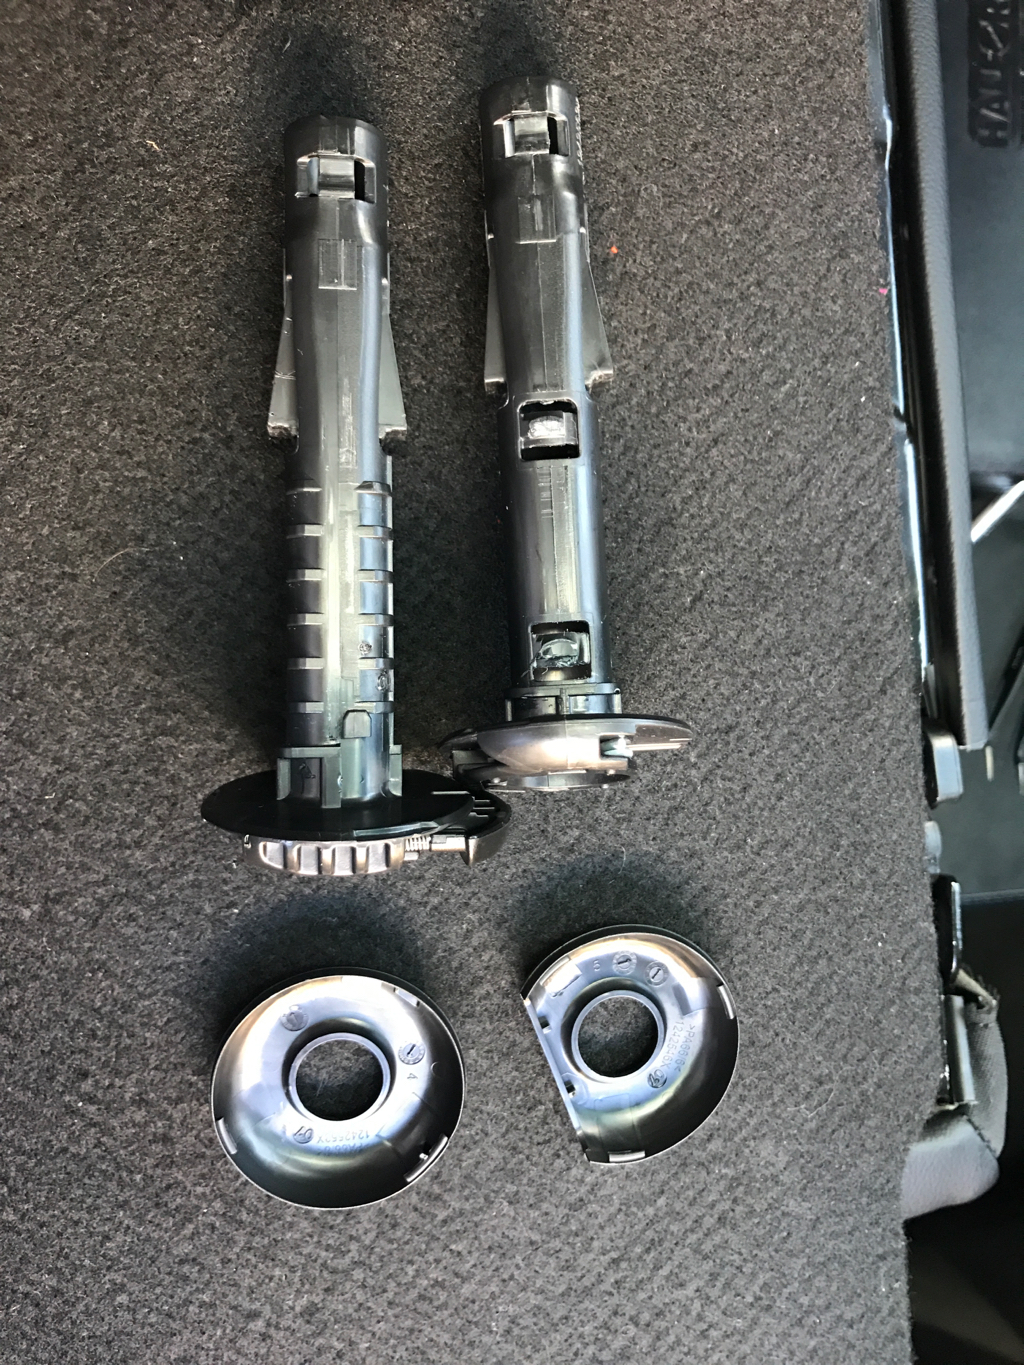
Here’s a picture of the tubes, showing the two clips. To force them out I put two openers (like guitar picks) from my iFixIt toolkit under the surround at the top of the tube, and alternated opening the clips with the dental pick and wedging a screwdriver between the openers. In the picture you can see that I also removed the finishing rings from the top of the tubes, but actually you probably don’t need to do that. It’s not a problem if you do though.
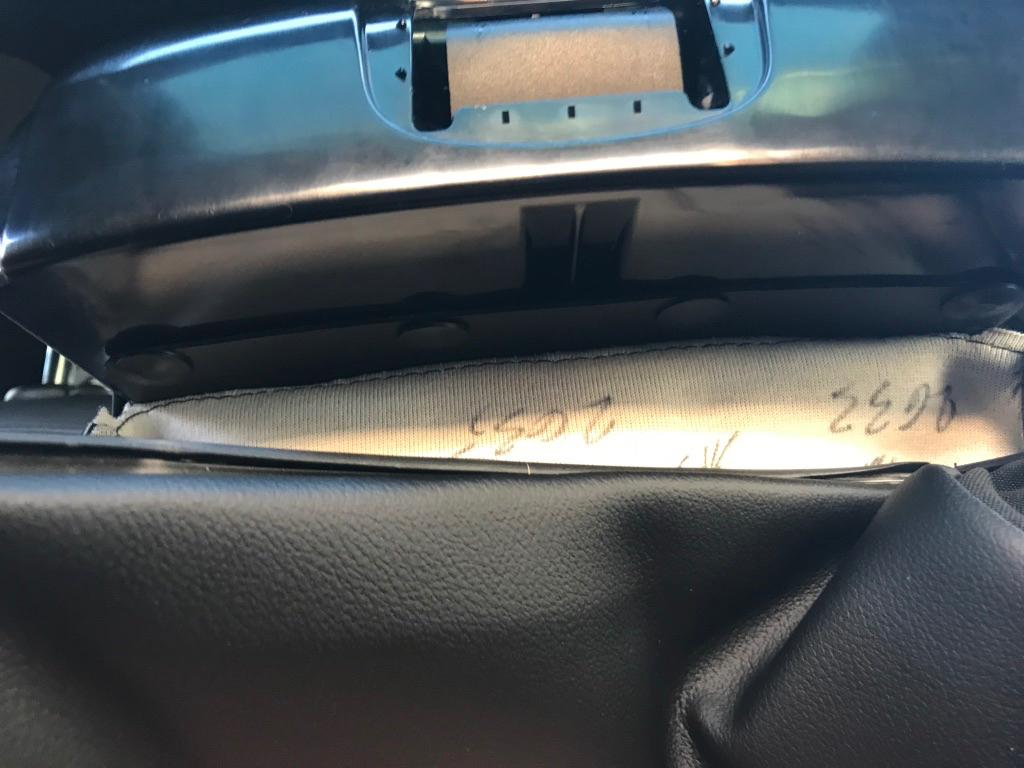
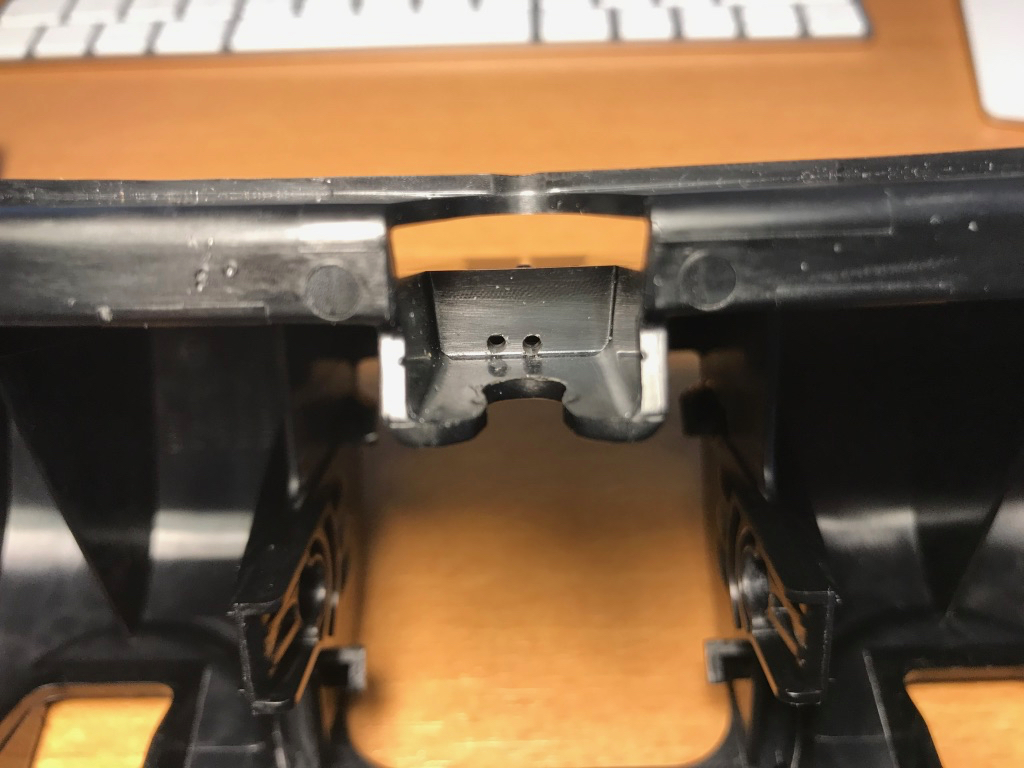
Once the headrest tubes and handle surround have been removed, you can remove the trim piece from near the lock. This is another really difficult to dislodge clip, shown in this picture:
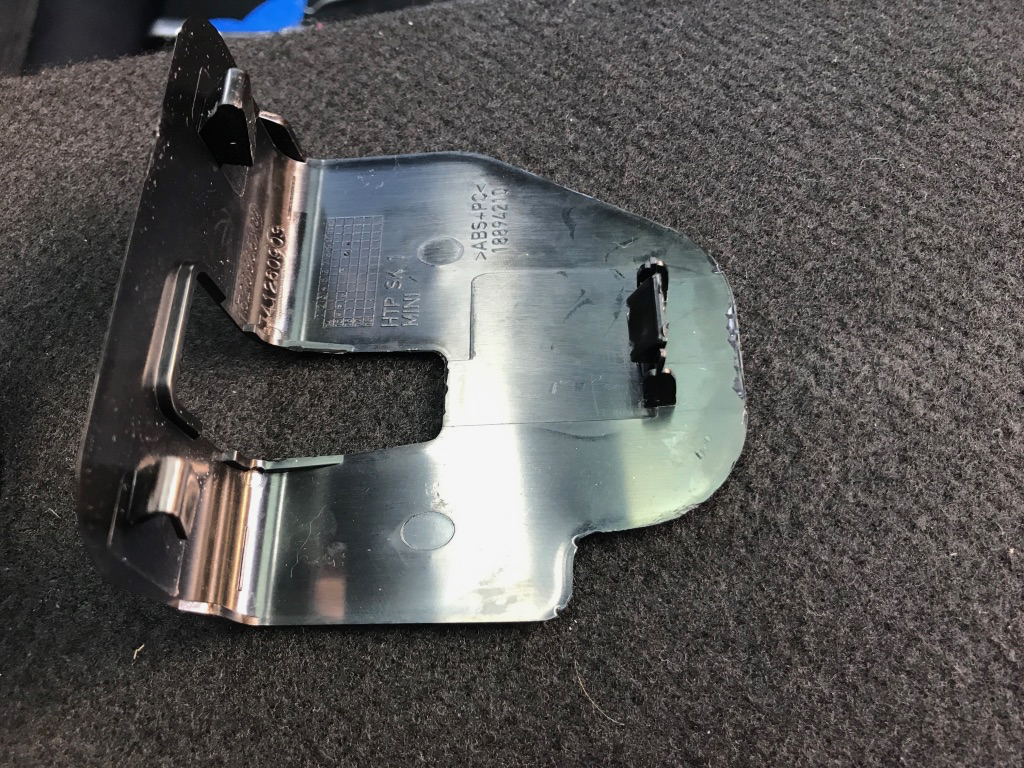
You have to persuade that clip to unlatch, then the two clips on the other end just slide out and you can remove the piece.
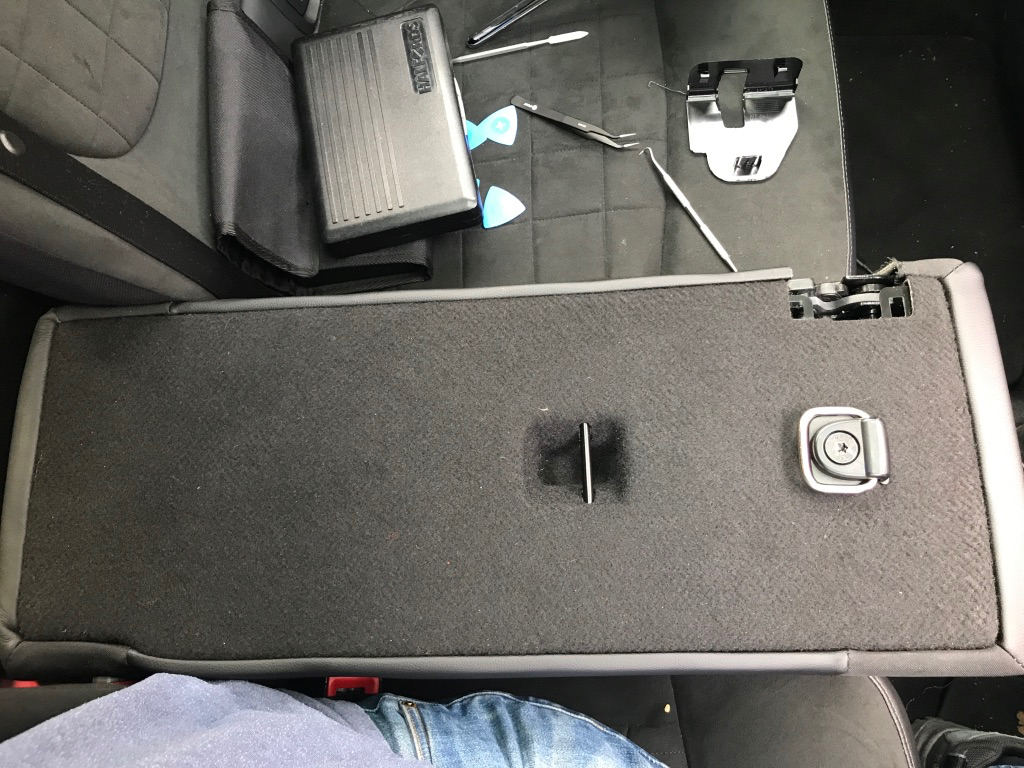
Next job is to remove the rear cover, so first unbolt the torx screw in the ISOFIX top mount, then pull up the rear cover. Start near where the lock trim piece was, and make your way around the edge until it’s all removed.
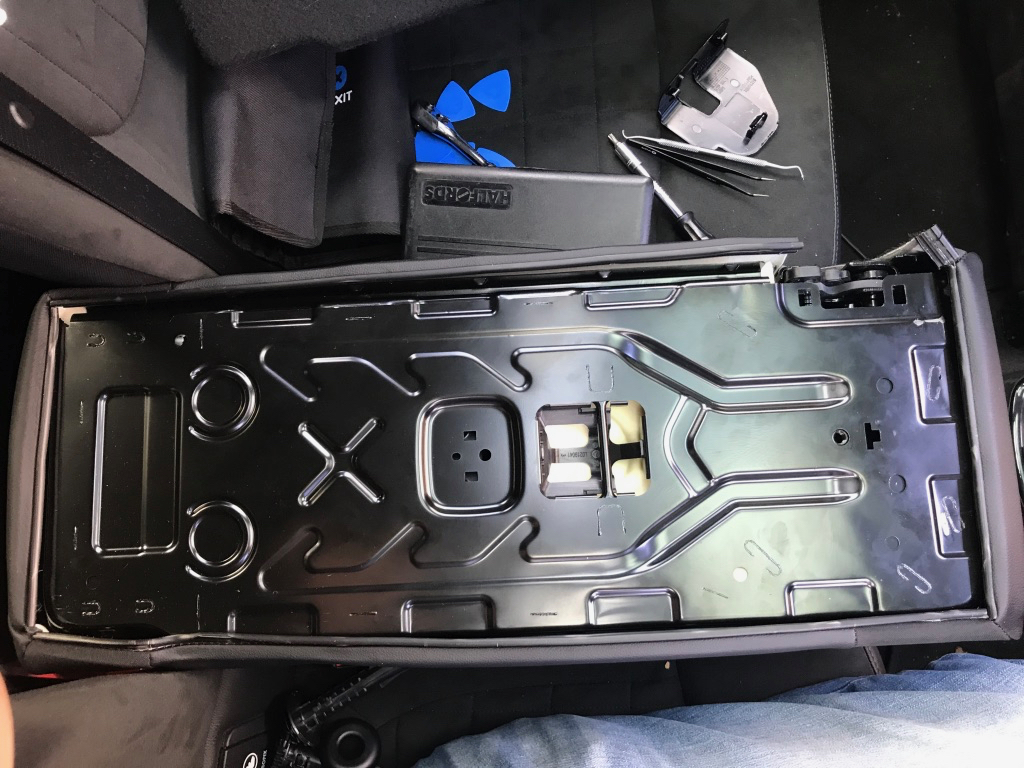
Once the rear cover is out of the way, pull out the leather from where it’s curled around the edge where the rear cover was. You only need the top half of the seat loose for the next step, but you’ll eventually be unclipping all of it anyway so it doesn’t really matter.
Next, pull the leather over the top of the seat to expose the plastic section where the handle is located. At the top of the armrest there are four plastic clips that need to be removed.
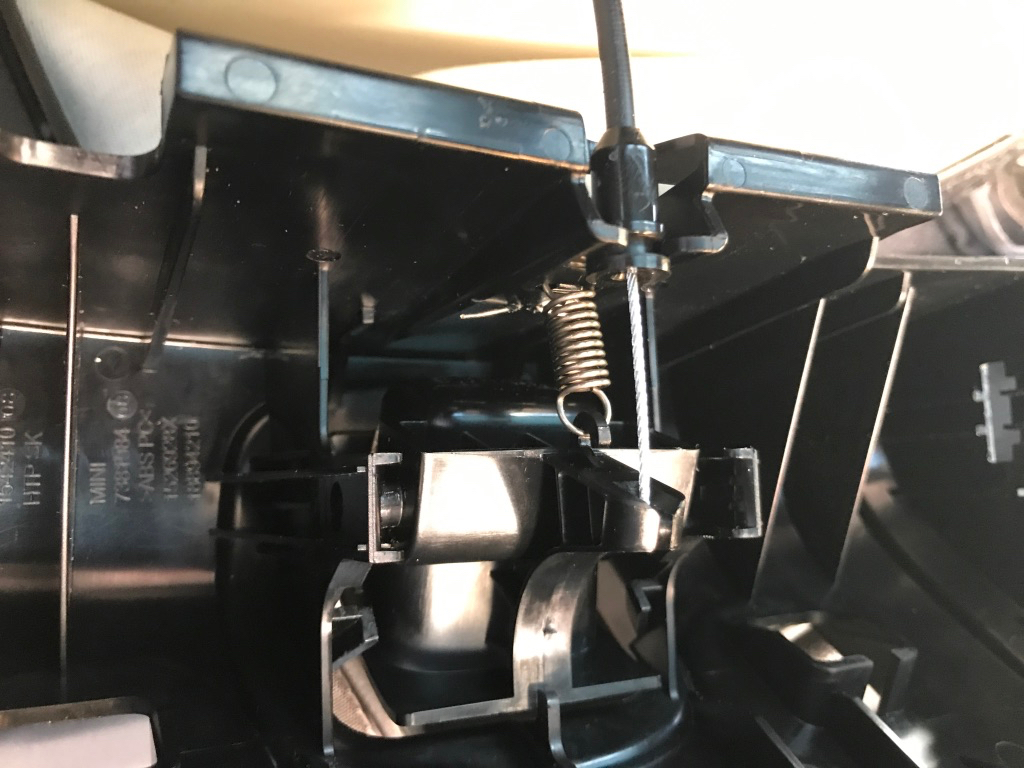
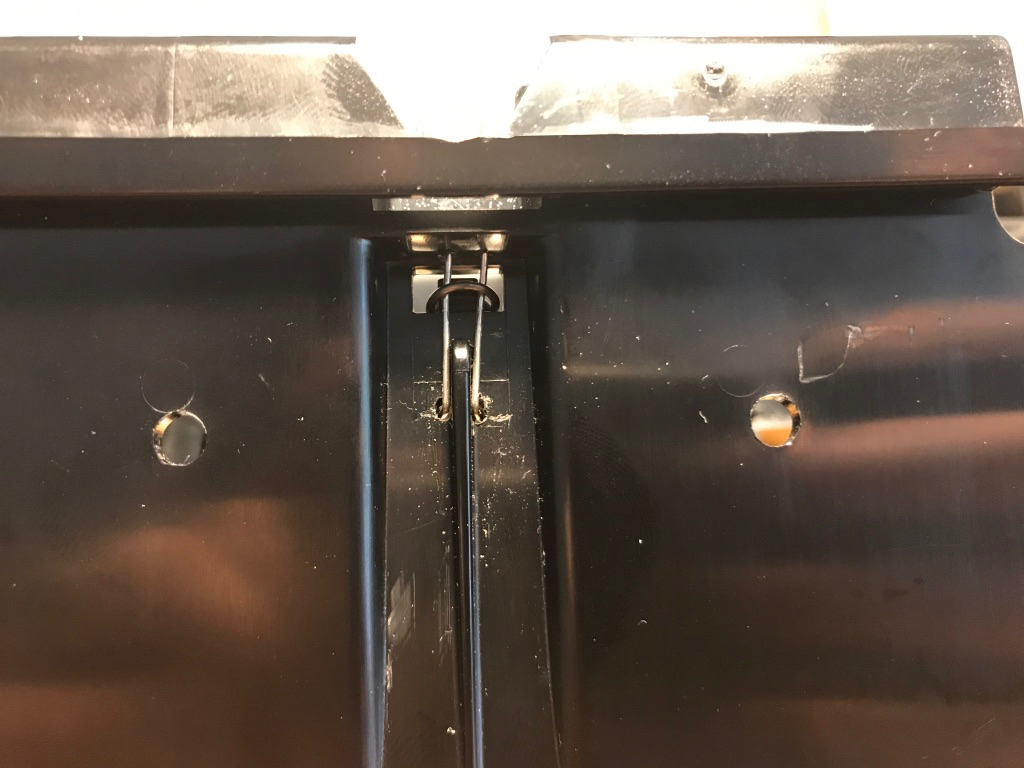
Now you can remove the plastic top piece of the seat. There are two torx bolts at the top. Once you remove them, move the top piece forward until you can unclip the cable that operates the latch. The cable surround pops out, then the cable itself can push through the hole in the handle and be released. You can now retreat indoors with the whole top section. Make sure you don’t lose the spring (the cause of the rattle). NB I took this photo of the cable release while I was reassembling it, so it contains a spoiler for the fix that I did.
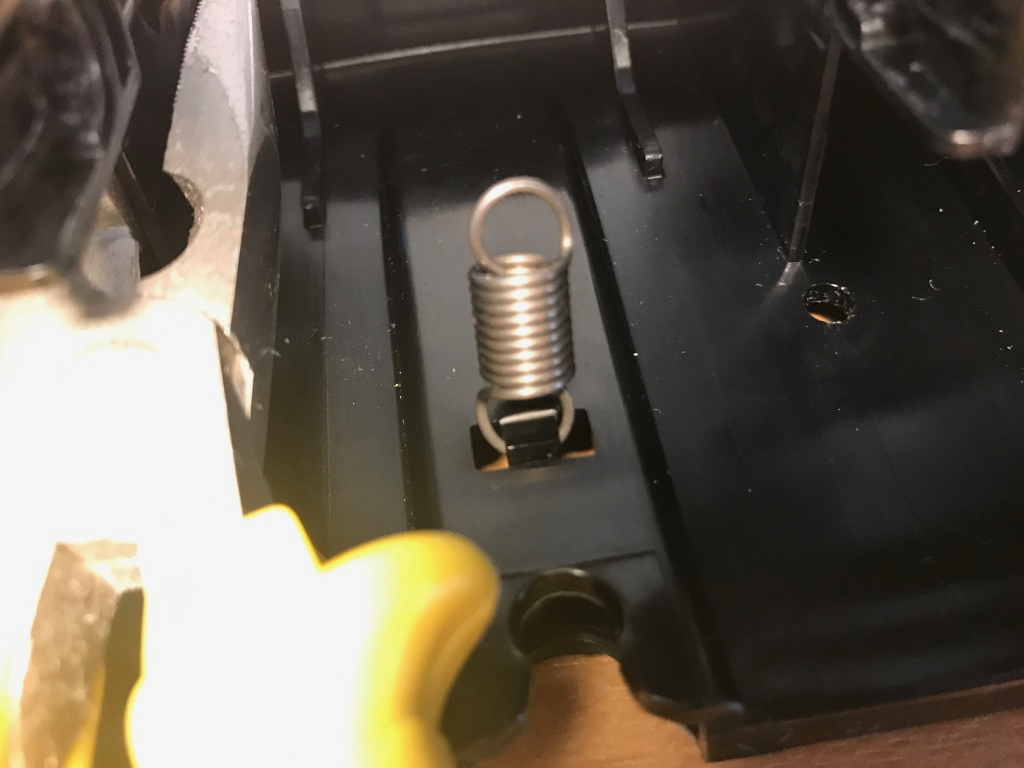
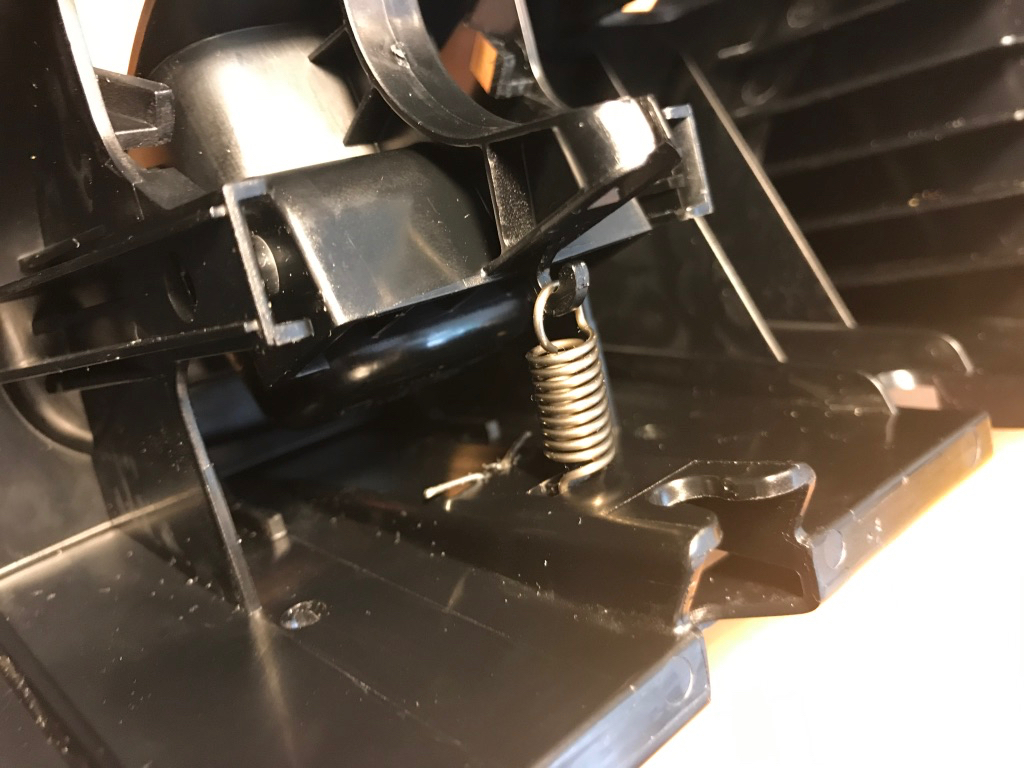
The spring hooks between the handle and the main piece, and holds the handle in the closed position. The problem is that the place where it hooks onto is very weak for such a strong spring and has broken (although still just about attached).
I don’t think even superglue is up to fixing this so I strengthened it with a piece of paperclip. After bending it unto an elongated U-shape, and drilling four small holes, I came up with this:
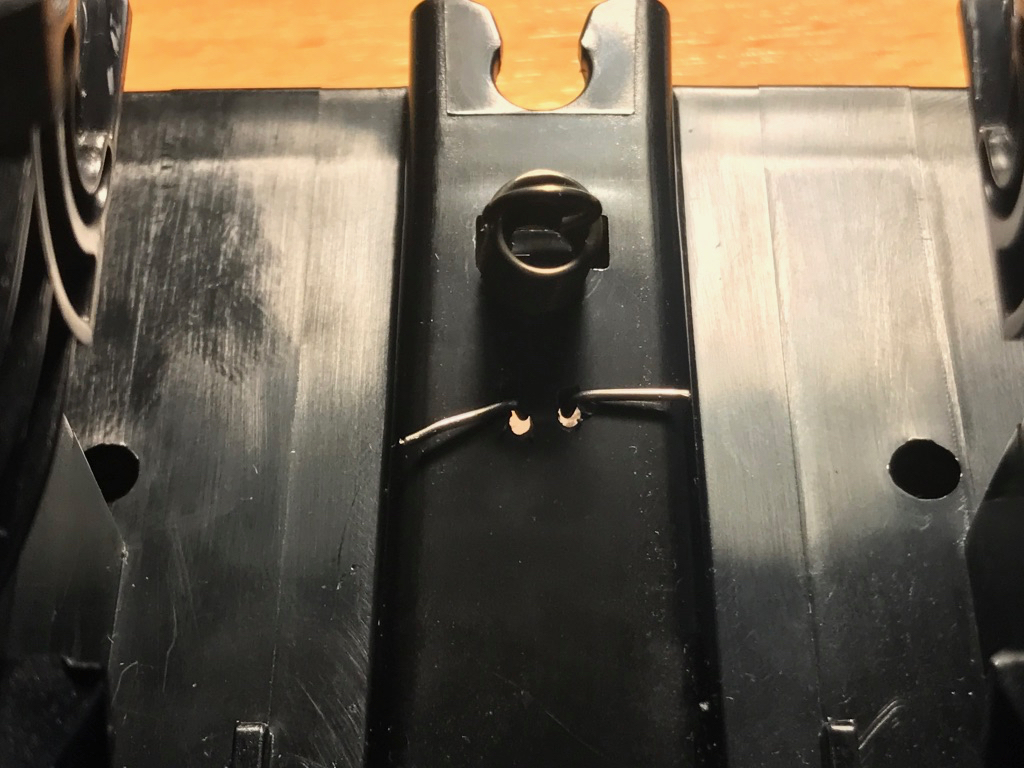
You could use hot-melt glue or similar on the paperclip to prevent rattles, but I’m sure the strength of the spring itself will stop any rattling.
Putting everything back together is the reverse of taking it apart, until you get to the seat back. You have to install the seat back before clipping the leather around the sides. It’s a pretty difficult job but once it goes back together it should look exactly the same as before you started.
Now you can put the plastic clips etc. back on.